Install Multi-Fixed Handles (keyhole fitting)
These instructions are suited to any handle with multiple fixing points which use the keyhole fixing such as
- Square & rectangular handles
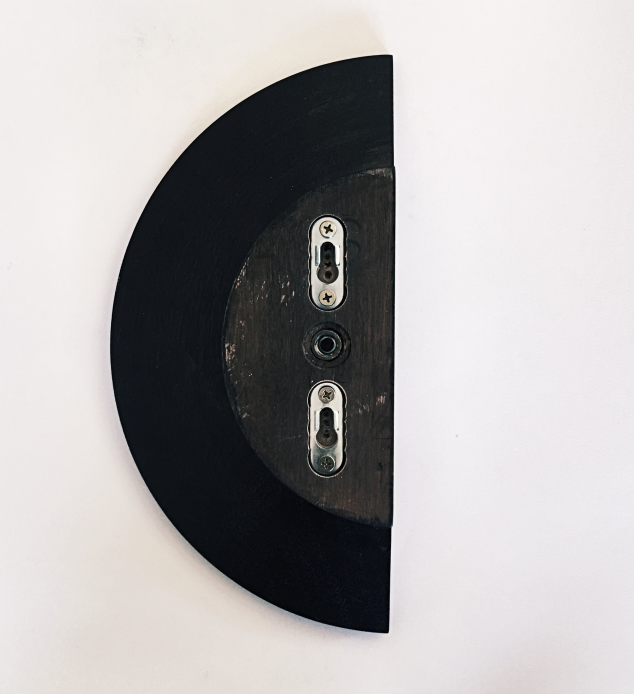
- Larger half-moon handles
- Concealed back to back fittings solid core doors
Fittings
Joinery & door handles are supplied with all fittings required for fixing the handles to the door. Included are:
- 2 Metal keyhole fixings installed in the rear of the handle

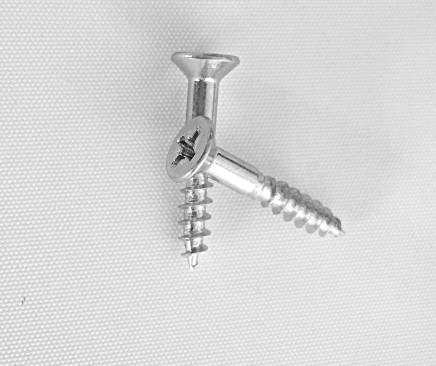
- 2 Screws for fixing to the door

- Small piece of MDF
Safety
- Always follow the manufacturer’s safety instructions when using power tools and adhesives
- Wear safety glasses throughout the installation
Step 1: Set up
You will need
- Drill & Phillips head drill bit or screwdriver
- Safety glasses
- Handle and screws
- Pencil
- Measuring tape
- Rubber Mallet
Step 2: Prepare the door
- Decide where on the door the handle will be fixed. Mark the height and distance from the edge of the door.
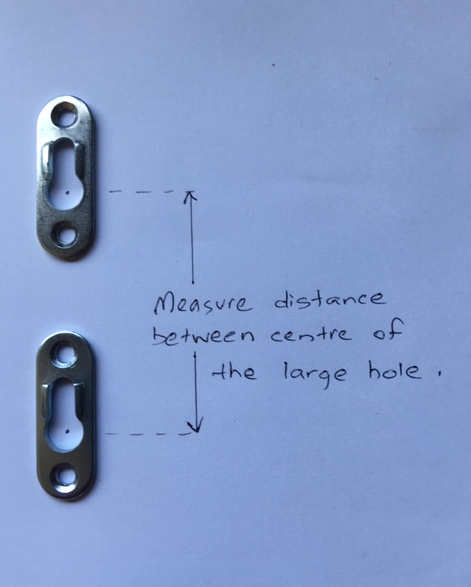
- Measure the distance between centres of the fittings at rear of the handle OR refer to the information written on the mdf for your specific handle.
This distance is taken from the centre of the top fitting to the centre of the bottom fitting.

c. Locate & mark the position of the top fitting on the door.
d. Mark the position for the bottom fitting according to the measurement taken in b).
e. Check measurements
Step 3: Install
- Fix the screws supplied into the door at the marked locations. Head of the screw should sit out by 5-6mm
- Fix the handle
The handle should be held with the narrow end of the keyhole pointing up as shown.

Slot the fixings over the screw head at the widest opening of the keyhole.
Using the rubber mallet tap the handle down so that it fits firmly into the narrow slot of the keyhole.
Please note: Prior to tapping place the mdf piece over the top of the handle to protect from marking and denting.
If there is movement remove the handle and wind the screws in approximately 1-2mm and test again.
The handle should fit firmly without movement.
All Done!
